Showing posts with label the house. Show all posts

Sunday, September 15, 2013

More HomeGoods Finds

I know.. I've put up a few posts about my HomeGoods finds in the past... apparently I'm a creature of habit and since I've found a few fun finds here in the past... I've. been. back. ;) 

This weekend I went to HomeGoods because they are conveniently located next to an out of town craft store. I went with the intention of browsing and should I find something I liked I would of course get it. This time around I think I hit the jackpot. I found items for the walls. 
Three shelves, a candle holder and a candle. All with different personalities of their own! :)


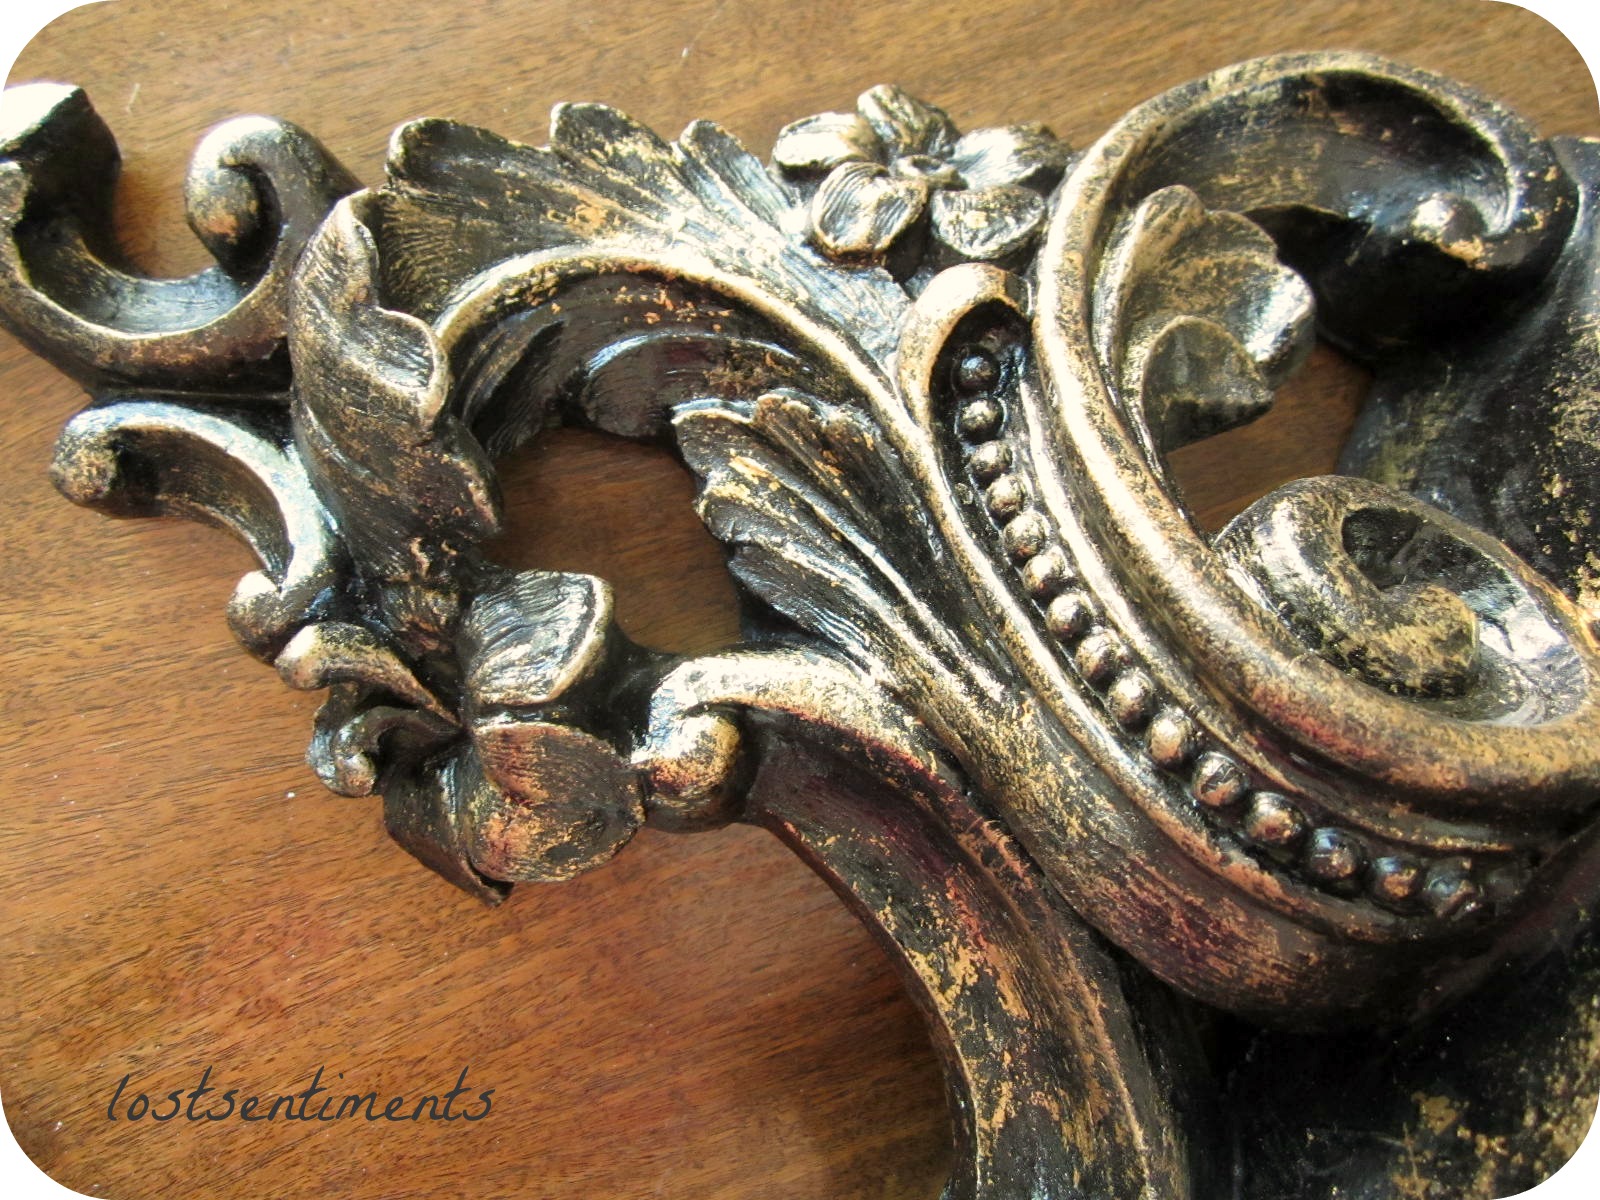
My favorite part about this shelf is the filigree and the brushed brass look. 
I have an idea of where I'll put it in the bedroom. 
We have a large mirror with a golden frame and some filigree as well I'm sure it'll work well with. 


A close up shot of the shelf details... SO pretty! ^-^


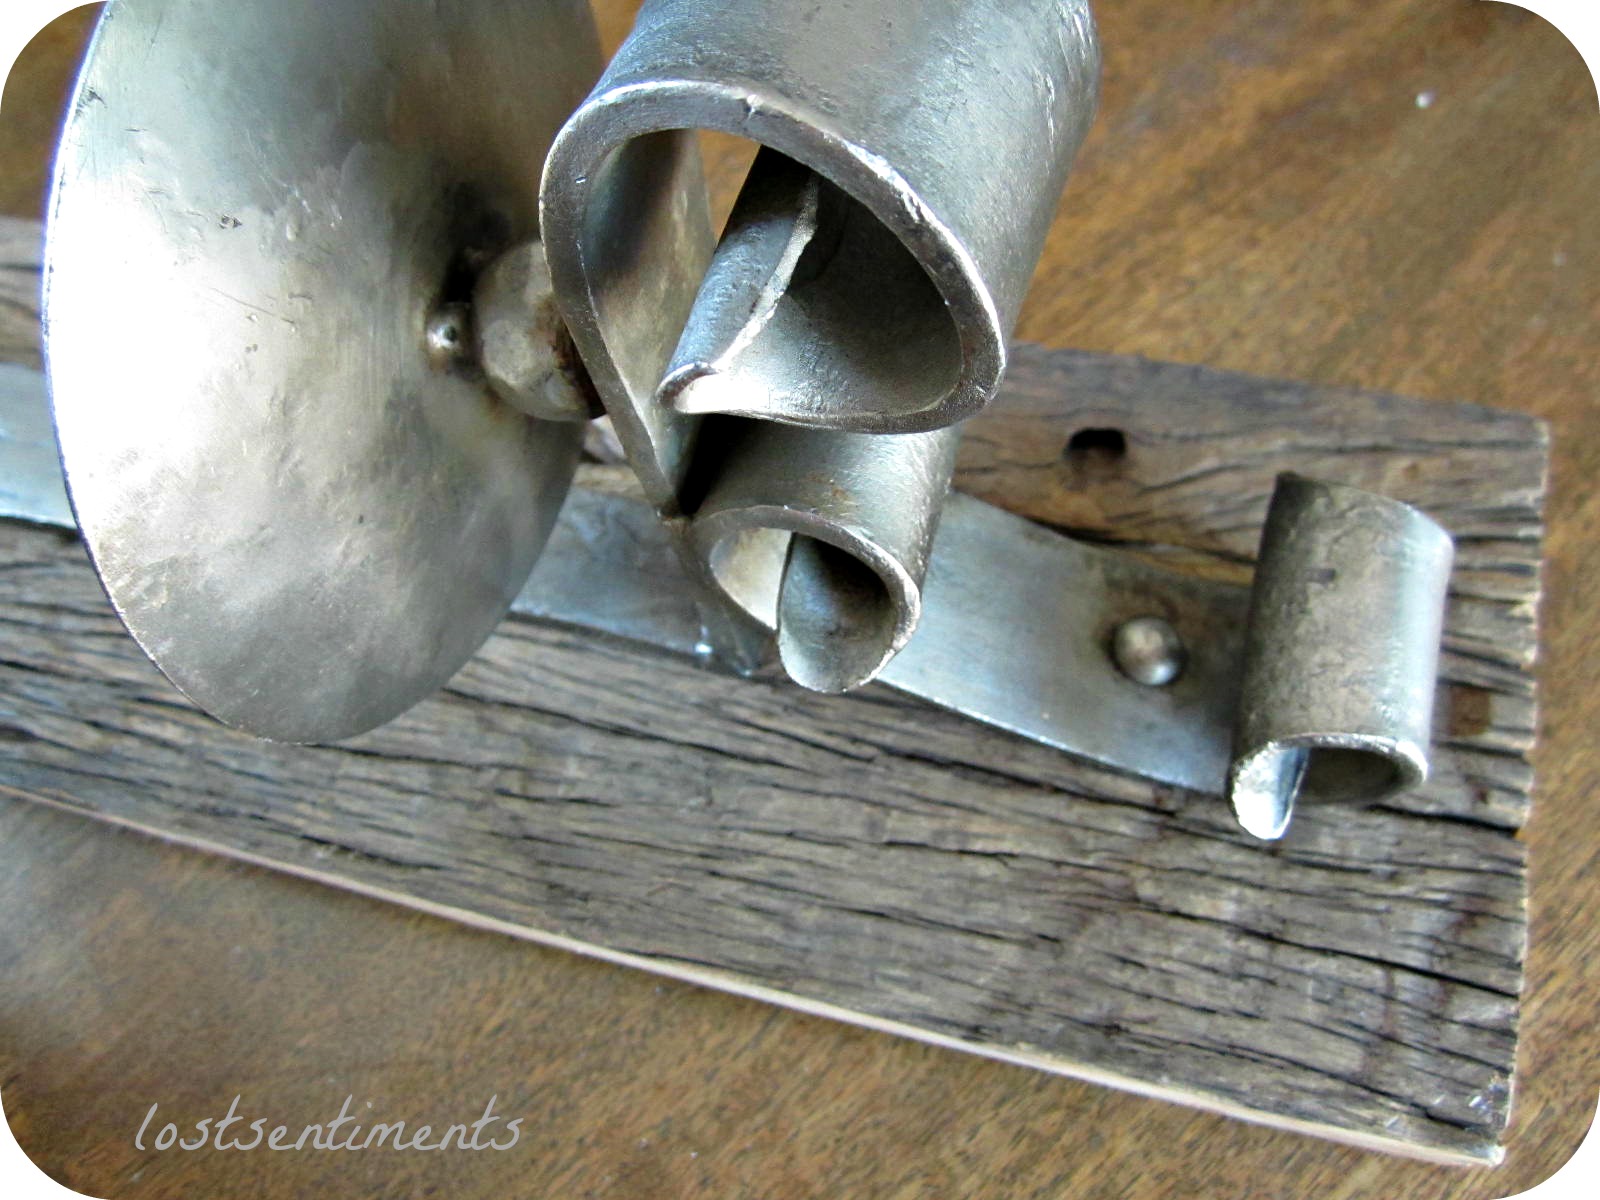
This is the 1st piece I saw when I was browsing. This thing is HEAVY! It reminds me of a twist between barn wood and scrolly castle candle holders.


As we were standing in the checkout line I spotted this candle. I loved the detail in the label and when I smelled the aged apple cider I was sold. Though if I decide to light it, that means I will need to find a home for this label! ^-^  

Did you know that in Snow White, the Wicked witch's name was Queen GrimHilde?
I think it's safe to say she helped make this candle ;) 

I really liked the worn look and the hardware on these.  ...and since I'd never seen anything like them before and since there were two I grabbed them both. 


Wooden topside and details.

Thanks for looking at my finds! What kind of styles do you like and what do you decorate your home with? 

Thursday, May 30, 2013

Storage is Important

Why for yarn of course! :) Of course ^-^

Okay and for clothes, and shoes and other clothing things :). 

Closet renovating is something else the family helped us with while they were out to VA this year!

The hallway closet, our bedroom closet and my sisters closet all got facelifts! ;) 
The original design of each closet was okay but I felt there was a lot of space not being used quite so efficiently. So with help from the parents, my sisters helping unload the closets and in some cases painting them (the hallway closet) we were able to get the closets tended to from start to finish in two days. Dad and I painted and prepped the boards/walls before and after the shelves went up. Initially we were looking at the wire closet aide's and in the end decided wood will last longer and look sharper (and cost half of what we'd have paid for the wire shelving). We got shelving that was 1 by 12 and then however long we had measured we'd need for each closet. Dad and I painted just the shelving white and left the rods natural wood as you'll see in the photos :).

* * * * * * * 

The hallway closet BEFORE:


...and...

AFTER:


We painted the inside of this closet  to match the rest of the hallway and large sitting room, making it the last area upstairs to be painted since we moved in. 
All other walls upstairs had been painted since we've moved in. :) 
The rod was placed higher than where the prior one was. 
My husband being 6' 4" and having long coats we made sure the closet would store our longest coats with ease :). Shelving was added on top of the rod brackets and around the left side of the closet. This created a nook for the folding chairs to rest on and some camping gear to be hid away yet still readily accessible. The bottom shelf allowed for more shoe storage *yes* which helped tidy the floor up a bit! I moved a shoe caddy from my closet to the hallway closet for storage of purses, hats and gloves. I also purchased a basket for other scarf storage you'll see in the far right photo.

* * * * * * * 

Here is our closet - I neglected to take an official "before" photo but if you can envision more clothes on the right side of the closet packed in tightly then you get the picture. If you can't picture it then imagine a closet where if you pull out a shirt, the hanger stays attached to the pole but is stuck outside the clothes because there's not enough room for it to swing back into the mix, think SARDINES... yeah. I don't miss that. ^-^ 


Spacing this closet was very important to me. I wanted my mister to be able to have his shirts hang and be high enough for him to see. A custom tailored closet for sure ;). Luckily the dimensions worked out quite nicely with both his tops and mine. The top shelf of the closet allows for the misters shoes or my shoes in a shoe box, his shoes also rest on the 2nd shelf along with a small basket that he call pull out to grab dress socks when needed. All the way to the right we left space to store long dresses and pants. We made a small change to how we store our jeans. Jeans, shorts, all pants :) are on hangers now. I had to brain storm about my shoe storage because once I hung up my clothing it hid the shoes! I found an under the bed shoe caddy that has done well so far. I love that I can see all my clothes now and its not such a fight to get an item out just to see it!

Dad did an awesome job making sure the rod brackets were flush with the wall in every closet where applicable. Prior to redoing our closet on either side I just hoped the clothes wouldn't push too far to the ends... or they'd fall off. So annoying. First world problems... I know ;) 

* * * * * * *

Here again I didn't get the official "before" picture so imagine again clothes on the right side 
why did we always clear that side out first?? Curious... ;)) 
with clothes on white hangers that fit the space on the first photo.
 My sisters closet was modelled after ours only in this case we brought the top rod and shelf down further so there was more than just a shoe boxes' worth of storage. 


* * * * * * 

Reorganizing the closets proved quite helpful in the yarn arena as well - the old shoe rack went into the white room/craft room and ow holds yarn in a way that you can shove skeins together (yes! :D) and still see the colors quite readily when you open the closet door. Granted this is *not* the only place I have yarn. 
But I wanted to show off this updated part! :D

Shoe rack used for yarn storage - for the win!


OH! Oh! Also - the mister got his long awaited garage closet area - an open closet? :) 
All the motorcycle gear came out of the hallway closet and found their rightful home here - yay! :D


Can I just say I love to organize? I thoroughly appreciate when everything has its own place. 
Though yes, I still have a few "junk" drawers :). 

Monday, May 27, 2013

Birthday Daisies - Planted!

For my birthday my coworkers gave me some tea and a live daisy plant! Since the family was visiting and my mom has a bit of a green thumb ^-^ she planted them where the peonies used to be! Thank you mom! :D


Hopefully these pretties will fare better than the peonies did there. 

Quick update - the peonies transplanted about a month ago haven't grown any more :s nor have the dahlia's come up! I asked my mom about them when she visited and we cultivated the soil around it again. Maybe they'll come up next year? 

No matter - I will let you know either way! :D

Are there any plants that are struggling for you this year? 


Tuesday, April 30, 2013

Peonies & Black Dahlia's? I hope so! :)


This beauty, this beauty right here - is from a listing I have in my etsy shop - I used this lovely to add some color to the listings landscape and to show off the flower. 
After all it had come from my yard and was equally fragrant as it was beautiful :). 
 In 2010 though, we transplanted the huge peony bush and things haven't been the same since. :/


The peony plant that was once a flourishing flowering plant only gets this big after transplanting years ago.

***Dawn to the rescue!!!***


The peony bush is the tall plant in the middle. I had such high hopes for this transplant from 2010! The bush was so overgrown when we first moved in in 2009... you can see it to the far left of the house in the picture below, its covering the corner of our neighbors garage right in front of their truck:
Clearly it was a flourishing Peony bush before we moved to the back yard - but hasn't done well since.. 
no more flowers for me :(. This will not do!

Saturday my sister and I went to Home Depot after taking stock of what landscaping items we had, and found an perennial Black Dahlia. *swoons* When it comes to plants - I love anything white, light pink, dark purple and green. These color combinations just make me happy what can I say?

Back at the house - it was transplanting time!

Let the planting/transplanting begin!

BEFORE
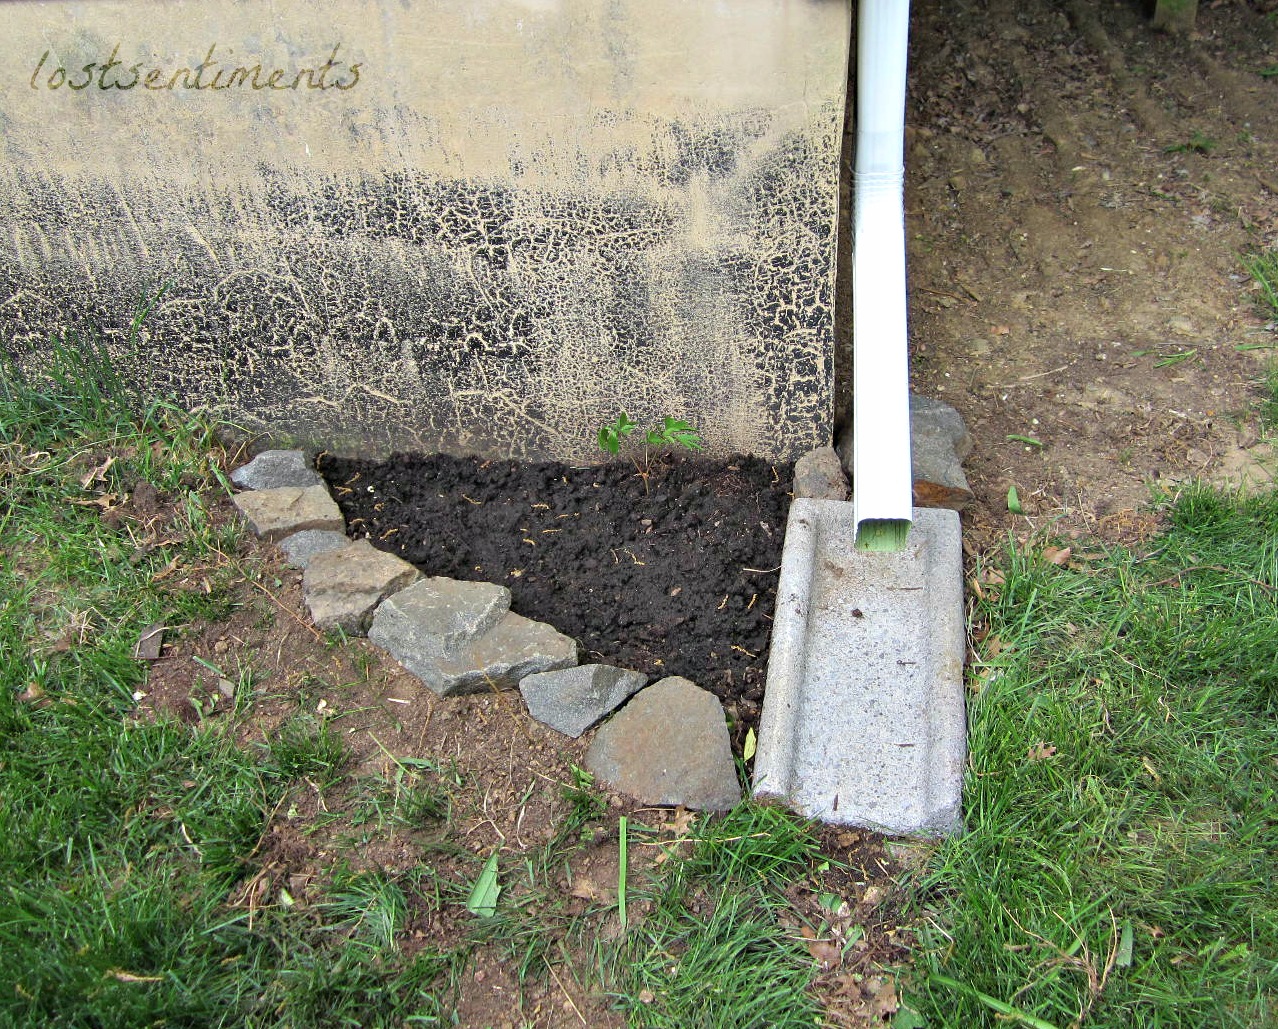
We used to have this eye sore of a plant just parading around the the down spout and would share some orange flowers near fall season. 
I didn't much care for it and it just looks like a big mess with spiders most likely lurking in its leaves. 
No thank you!

AFTER
A bit of an improvement eh? ;) 

With my sisters help we dug up all the roots of the other plant and added a bunch of soil before placing the peony. I also added the Black Dahlia bulbs spacing them out in line with the rocks. 


Top View :)

 We set down newspaper and then added dirt under the rocks in an attempt to ward off having to weed too much. I don't mind weeding, I just hope the crab grass stays at bay!


 I am *so* hopeful this lil one takes off. I miss my peonies! :0)
They smell so wonderful and look amazing when they bloom! 


Of course I'm also excited to see how the Black Dahlia's do too! I've never planted flowers before, my history has been more in vegetable gardening and helping my mom when she would transplant flowers growing up in Iowa. Iowa soil is so much nicer than the clay soil in Virginia. 
We're working with what we got though! :) A Home Depot down the road a ways and some tender loving care to get these lovelies blooming! :) 

I will keep you posted on their progress! :) Are you planting anything new this year? 

Best, Dawn

~~~~~~~~~~~~~~~~~~~~~~~~~~~~~~~~~~~~~~~~~~~~~~~~~~~~~~~~~~~~~~~~~~~~~~

**Good News**
I know it's only been a few days since transplanting the flower on 4/27/13 but today 4/30/13 I am happy to report the peony leaves are already stretching out and growing! We've had a lovely light rain/misting the past few days which is perfect right after transplanting/planting these! :D

Monday, April 29, 2013

Landscaping Progress Over the Years

This past weekend I did some yard work and wanted to share the outcome of it with you. I felt I would be only sharing the tip of the iceberg with you though so I did some digging into my photo files to give you a more complete picture. Here is the landscape history of our house.
I'll share the landscaping project I worked on this weekend with you all tomorrow so stay tuned! ;)

In 2009 when we signed on our house, we inherited a lot of other peoples left over issues, er maybe not issues, but because they were too lazy to keep up with the house and yard properly we had a lot of work to do... the house was a diamond in the rough, full of potential, but left much to be desired. The house was stinky and there were nicotine stains on the walls (they smoked *inside* :( ), heavily soiled carpets (it would seem they never ever took off their shoes and didn't own a vacuum, a mess of a yard (rotting firewood, wooden playhouse falling apart), jungle gym for kids (this again, rotting). Twigs all over the yard under the grass, everywhere you walked there was a snapping sound. Apparently they hadn't thought to pick up sticks before they mowed huh? :s Meh...yard work was not the prior owners priority... geesh.... At any rate, we have come a long way. 

Here is the original front of the house... oh how I do NOT miss it...

The front of the house overgrown shrubs and red landscaping bricks lined the house.
  A little while later, before moving in...you will note the open windows - ventilating the house - the ones that could be opened... we also spent this time cleaning the heavily trafficked carpets... oye vey..
~~~~~~~~~~~~~~~~~~~~~~~~~~~~~~~~~~~~~~~~~~~~~~~~~~~~~~~~~~~~~~~~~~~~~~~~

Here are many of the eye sores of the yard...

Oh the jungle gym... the oh so UNsafe playground... 
Back of the house - nice huge deck, but the lattice?!?! It had to go!
Rotting play house :( once I got it to the front curb it folded on its side.
This baby was heavy! All real wood! 
Branches and other debris collected where a large shed used to be (prior owners). 
Luckily we had a city wide clean up that fall and were able to set a lot of junk out on the curb to get it gone!

Yes, that's a refrigerator - it was full of mold when we moved in...
so we decided better safe than sorry.
Our curb as it appeared from across the street...
~~~~~~~~~~~~~~~~~~~~~~~~~~~~~~~~~~~~~~~~~~~~~~~~~~~~~~~~~~~~~~~~~~~~~~~~
In 2010 we removed all these icky shrubs from the front of the house... 
and put up some solar lights and planted a few *tiny* shrubs. ☺
We toned down the red brick fascia a bit by replacing the brick landscape siding with neutral cement blocks.
You'll notice we also added white rock on top of the soil (after putting down a plastic tarp).
A nice upgrade ;) it looks so much cleaner!
Where the shrubs were we planted grass seed and lined the cement walkway with cement blocks making them flush with the side walk. 
Here is a close up of the left side of the house near the walkway at night.
Here is a shot of the cement blocks lining the cement a few years later. The grass grew in nicely!

~~~~~~~~~~~~~~~~~~~~~~~~~~~~~~~~~~~~~~~~~~~~~~~~~~~~~~~~~~~~~~~~~~~~~~~~
We transplanted 4 of the 5 shrubs in the back yard - my family from Iowa visited to help with this landscaping project. Oh. My. Goodness. Could not have done this in record time without all of them! I love my family. I love their giving spirit and worker bee attitudes. At least I know where I get it from huh? :)  Oh! And in the time they were here not only did they help us tackle the landscaping but they also helped with the large sitting room upstairs.

Hasta's were brought from Iowa and planted near the base of most of the trees. Thank you Mom! :D This is the view as seen from the deck.
More Hasta's! You will notice the barren spots, this is where the toy shed was.
Grass has since grown in nicely!
The two Azalea Bushes & Peony Bush were transplanted from the front yard and were placed to the left between two trees.
There was another set of matching bushes we transplanted towards the back of the yard as well
.

We planted grass seed in all the spots that were in need of TLC, and we recruited a lawn care service since then to properly take care of the lawn (aerating, fertilizer and seeding), it's been green and flourishing ever since!
~~~~~~~~~~~~~~~~~~~~~~~~~~~~~~~~~~~~~~~~~~~~~~~~~~~~~~~~~~~~~~~~~~~~

A few years later the family visited again and we took on the edging of the driveway -
what. a. chore!
The soil in Virginia is full of rocks! This was a huge undertaking. In some cases we had to break larger rocks so we could set the blocks flush with the ground.
The results were worth it! Here again I must credit my family, I'm so thankful for them.

As seen from the mailbox.
As seen from across the street. 
So to recap on the front yard progress - as far as the landscaping goes (we later found out we needed a new roof, siding, windows, etc. :s ) here is how it compares.
Before and after landscaping.
As mentioned, we've resided the house since then and there is a little bit more landscaping/transplanting that we did this past weekend but I'll share with you tomorrow.
 For now I hope you enjoyed the journey we've been on! :) God is faithful no? ;) 

Saturday, January 21, 2012

The White Room.. Decorated

It's done! It's been done... for a while. Though I was hoping to post pictures when I gotten a bed frame I liked and had a new home in the house for the trunk but this is reality and its been far too long without sharing, so here are the pics :)


I love how it feels cold, yet cozy... for now I have no vision for the walls and have found in the process of decorating the house that I like mirrors... we have at least one in every room except the sitting room upstairs. I like that mirrors reflect light and open up the room, frames can be ornate as well which add to the decor but mirrors are hard not to love :)

I hope you enjoyed the update! :) Happy decorating everyone! Thank you for reading!

UPDATE 9/8/13:

I've since gotten a daybed scrolly frame from a freecycler for this room! :) I also was able to move the trunk into the study and acquired a samller night stand. I will of course need to piant the night stand at some point but it makes a much better nightstand than the file cabinet I had there before ;). The room has gotten a bit more "white" since I last took pictures... here are a few updates...


Related Posts Plugin for WordPress, Blogger...