Saturday, March 29, 2014

Fall Colored Throw Blanket - Done

I started this blanket September 17th 2012. I've been working on it between other projects and am so pleased to tell you, that as of this morning... it's done! :) I'm so pleased with how it turned out that I've taken a copious amount of photos (...and I plan to take more!!) and sharing them in an extra large format.

 I'm glad I went with the blue edging... as I was finishing the last edging row I was excited to see it done (as you can imagine ;)). Though, I think if I make another one I'd finish it with a gray edging... maybe a simple acrylic gray edging, just to change it up and create a clean edge. The blue really pulls out the hues in the blanket, they all dance to my eye. I appreciate that I had enough different colors and textures to randomly select from as I worked on it as I think it adds an eclectic log cabin cozy feel. I am reminded of the photos you see on pinterest, of the stacks of linens, blankets or quilts that make you want to curl up with a good book and grab ALL the blankets from the stack! :)

If you'd like to make a version of this for yourself or a loved one, I've seen this pattern called harlequin and greenway. The free ravelry download can be found here.

Are you wondering how long this took to make?Are you *sure* you want to know?  Each square row of color took an hour to crochet. The edging itself took at least 20 hours in total. Final measurements are: 49" x 65"

I stayed consistent on the edges, all had a diamond ripple effect. This of course meant going back through to  each of the edge colors and adding stitches... well. worth it.I would do it again, just add the diagonal as I did the rows so I wouldn't have to go back, adding half a square to each of the rows was a tedious and daunting task, but once a handmade blanket is done, it's done! ;)

 I hope you enjoy the photos! Please feel free to share and pin them, just please make sure they link back to this post so people can see the other photos as well! ;) Thank you!

♥♥♥♥♥


Sunday, March 16, 2014

Father and Daughter Yub Nub Scoodies

Are you sick of seeing these yet?! I sure hope not! :D They are the last two I'll make for a while but I am elated to be giving them to a dear friend who will in the end had a family set! :D

The green scoodie came out larger than I’d anticipated, but you know, sometimes that happens! :) Luckily grown men have larger heads, so this scoodie went from “Oh my friends lil girl will grow into it” to  "Oh my friends husband will appreciate this, especially since his wife and baby will already have one!” Ergo - it's a daddy hat! :) 
Yep. It’s all in how you spin it :) ;).

Here's hoping my friend will use the set for a Christmas card sheninnigans butcha know its really okay if not too! ;) They're a super fun family, I'm just glad they'll appreciate having a set! :D Yes.


Monday, March 10, 2014

Free Pattern for Crocheted Leprechaun Shoe

Last year on St. Patrick's Day, a creative mom used Lostsentiments Green St. Patrick's Day Hat to give her kids the impression that a leprechaun had left it behind! :) Since the hat was such a hit, this year she requested I make a leprechaun shoe! :) So I whipped up this pattern and decided to share it here with you!

If you'd like to make a Leprechaun hat yourself - the pattern can be found here on etsy and on ravelry here

 I've done my best to proofread and edit the pattern, but if you have any questions as you work it up please let me know. 

Thank you! 


Leprechaun Shoe Pattern

Yarn: Worsted Weight
Hook Size: 8 / H 5.00mm

Finished size: Approximately 2 inches long, 1 1/4 inches tall and 1 inches wide. 

Note: I recommend starting with the Magic Circle Technique, 

if this technique is new to you then find a step by step "how to" here.


Round 1: Sc 6 in magic circle (6)

Round 2: Sc 1, Inc 1, Inc 1, Sc 1, Inc 1, Inc 1 (10)

Round 3: Slst 2, Sc 1, Inc 1, Inc 1, Slst3, Inc 1, Inc 1 (14)

Round 4: Slst 4, Inc 1, Inc 2, Inc 1, Sc1 

From here, you will start working in the back loop only, 

                 Sc 6 to end of round (18)

Round 5: Sc 12 in back loop only,  Sc 6 in both loops around (18)

Round 6: Sc2, Dec1, Sc2, Inc1, Inc 1, Sc 2, Dec1, Sc 6, (18)

Round 7: Slst3, Sc2, Dec1, Dec1, Sc 2, Ch1, turn

        Row 1: Sc1, Dec1, Dec1, Sc 1, 

        Thread yarn through the remaining loops and pull tight. 
        Weave in ends

***Switch to yellow yarn***

Row 1: Sc 2 in center of shoe "bill".
Row 2: Ch 1 turn, Sc 2, weave in ends. 


Shoe should looke like Figure 1 below.


Fold yellow bill down towards the tip of the shoe like in Figure 2 above.

Take about 10 inches of black yarn and back stitch around the yellow until it looks like a buckle. Weave in ends and enjoy! 


All rights reserved. If you sell products made from this pattern, please link back to this post and credit Dawn Pearson/Lostsentiments as the designer. Thank you.

Light Pink Baby Yub Nub Scoodie

I know... this might be excessive... I mean, I've made an orange, a hot pink, a dark green and a dark purple scoodie already, so really? A baby yub nub scoodie? Well yes of course! XD I have lot of Star Wars friends okay? And one is expecting so I have to oblige this... aren't you glad I did?! I am... I'm very glad. I want to make myself one in the same color scheme honestly but I don't know when I would wear it! ;)

Alright, begin the oohhhing and ahhhhing :D The baby yub nub scoodie pattern is by the same person who wrote the pattern for the adult size yub nub and can be found on ravelry here


Sunday, March 2, 2014

Free Amigurumi Crocheted Unicorn Horn Pattern

Free is the right price jes? Jes.


Here you go! Tell your friends where to find it, just please do not sell it as your own... and if you use it, kindly link back to this page, full disclosure mentioned at the end of this post. Thank you! I appreciate it!


Free Amigurumi Unicorn Horn Pattern

Yarn: Worsted Weight
Hook Size: 8 / H 5.00mm

Gauge: 1 inch x 1 inch = 4 rows x 3 stitches

Note: I recommend starting with the Magic Circle Technique, 
if this technique is new to you then find a step by step "how to" here.

Round 1: Sc3 in magic circle (3)

Round 2: Inc 1, sc 2 (4)

Round 3: Sc 2, Inc 1, sc 1 (5)

Round 4: Sc 3, inc 1, sc1 (6) 

Round 5: Sc 4, inc 1, sc 1 (7)

Round 6: Sc 2, Inc 1, sc 4 (8) 

Round 7: Sc around (8)

Round 8: Sc 3, Inc 1, Sc 4 (9)

Round 9:  Sc 4, inc 1, Sc 4 (10)

Round 10: Sc around (10)

Round 11: Sc 6, Inc 1, Sc3 (11)

Round 12: Sc 5, Inc 1, Sc 5 (12)

Round 13:  Sc 9, Inc 1,  Sc 2 (13)

Round 14:  Sc 3, Inc 1, Sc 9 (14)

Round 15:  Sc 6, Inc 1, Sc 7 (15)

Round 16: Sc 1, Inc 1, Sc 13 (16)

Round 17:  Sc 9, Inc 1, Sc 6 (17)

Round 18:  Sc 14, Inc 1, Sc 2 (18)

Round 19:  Sc 5, Inc 1, Sc 12 (19)

Round 20: Sc 12, Inc 1, Sc 6 (20)

Now, with a darker color purple, back stitch from the bottom of Round 20.
Up 2 rows and over 2 stitches each time until the tip of the horn, then work down again in the same way, granted you won't be able to do 2 over and 2 up once you are at the top of the horn, so just space them halfway apart (or stitches up 1 stitch over).

OR fasten the thread off once you reach the top of the horn then begin back stitching on Round 20, 8 stitches from the first line.

Once you have the initial stitches complete, using more of the darker purple thread, trace the back stitches by wrapping the thread around them like in the photo below.


Work up the thread and pull a little on the twisting thread as you go, this helps give it a "swirling" shape.

Here is Twilight Sparkle herself with a smile of approval :D ;)


All rights reserved. If you sell products made from this pattern, please link back to this post and credit Dawn Pearson/Lostsentiments as the designer. Thank you.

Scoodies Galore!

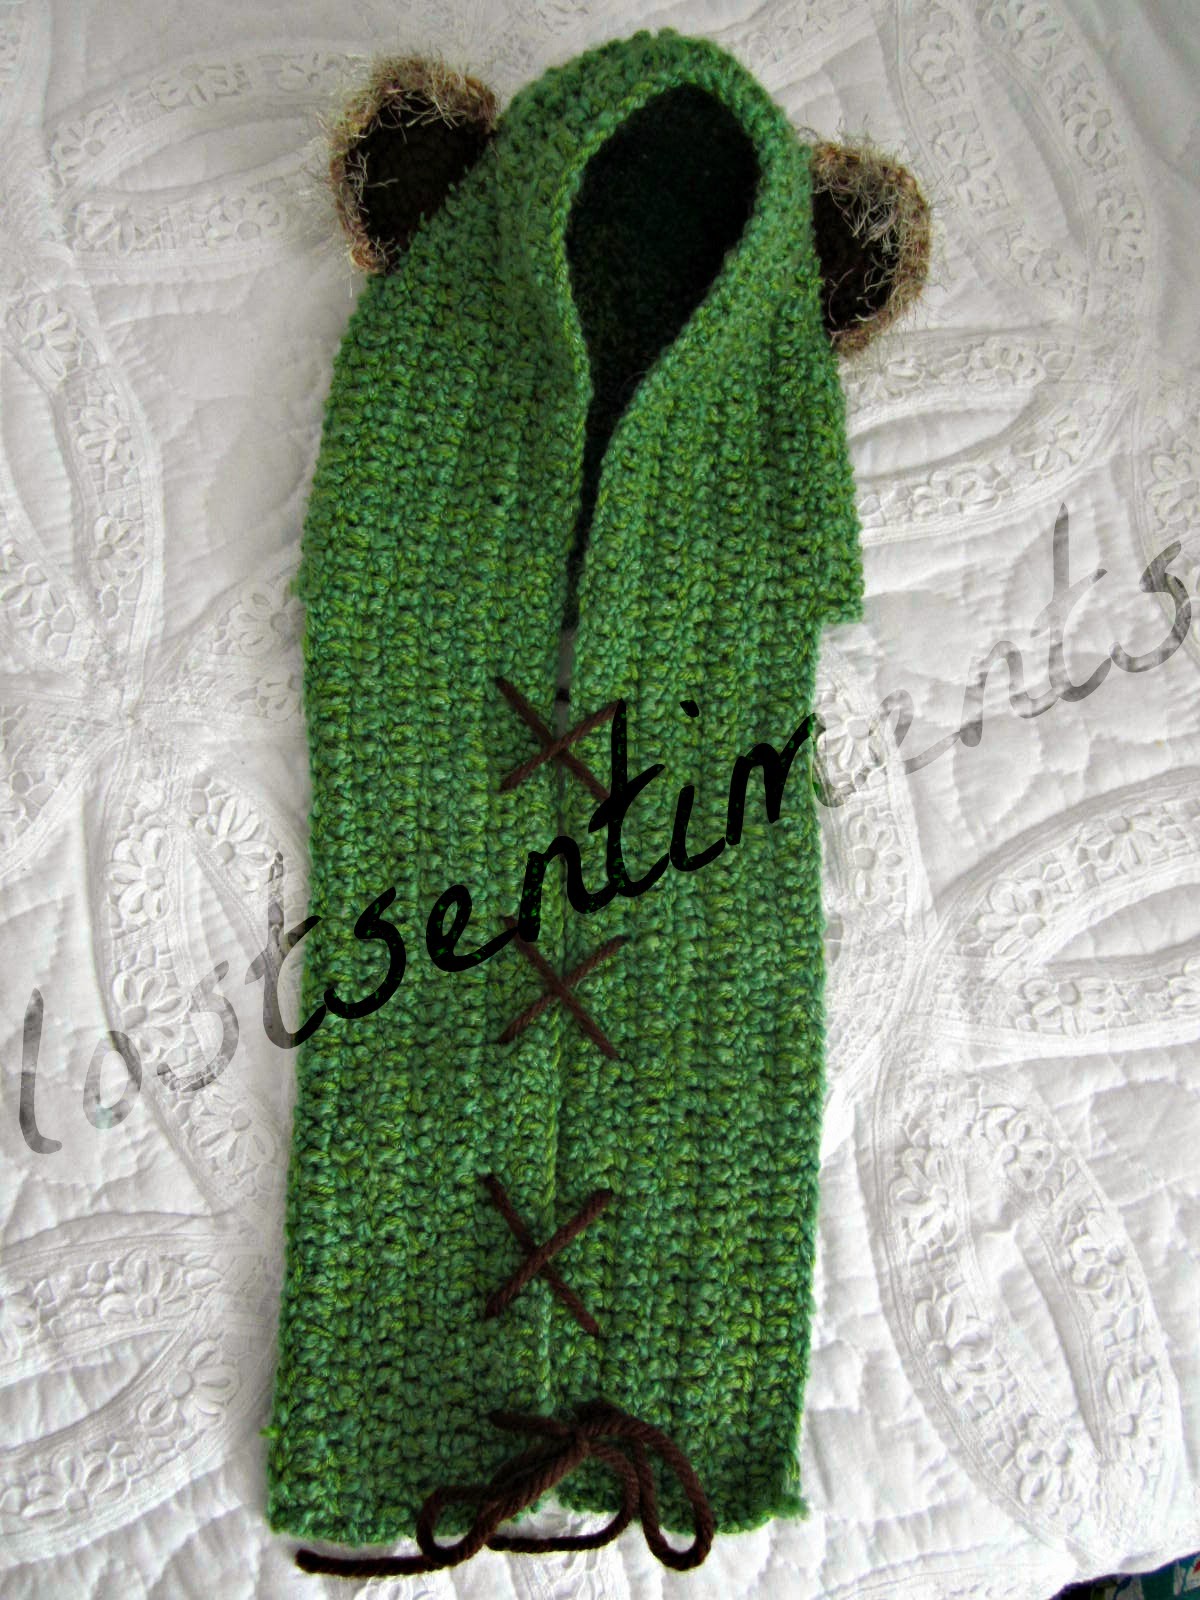
You might remember my post about the pair of Ewok lovebirds scoodies not too long ago... well because my friend shared with the rest of the office the adorableness that is the Yub Nub Scoodies... more were requested.


One for a grandmother (purple), one for a son (green)... one for a friend of mine that loved the pink I used and wanted one just like it, which of course meant that I would be making her adorable daughter one too (still in the works ;))! Because I love them both ;). Last but not least... I made one especially for a 3 year old... who loves the twilight sparkle pony character. So instead of the ears, we have a unicorn horn!!! :D


Yes, the pattern for the horn is mine, yes, I wrote down the pattern as I went and yes I will share it with  you! All in good time ;). Be sure to stay tuned! I'll share the link in this post as well once I have it set up. :)

***UPDATE: cLiCk HERE for the unicorn horn pattern.***


...Twilight sparkle herself ^-^ for a point of reference :). 

I hope you were inspired by the photos! :) 

~Dawn
Related Posts Plugin for WordPress, Blogger...