
This beauty, this beauty right here - is from a listing I have in my etsy shop - I used this lovely to add some color to the listings landscape and to show off the flower.
After all it had come from my yard and was equally fragrant as it was beautiful :).
In 2010 though, we transplanted the huge peony bush and things haven't been the same since. :/
 | ||||
The peony plant that was once a flourishing flowering plant only gets this big after transplanting years ago.
***Dawn to the rescue!!!***
Clearly it was a flourishing Peony bush before we moved to the back yard - but hasn't done well since..
no more flowers for me :(. This will not do!
Saturday my sister and I went to Home Depot after taking stock of what landscaping items we had, and found an perennial Black Dahlia. *swoons* When it comes to plants - I love anything white, light pink, dark purple and green. These color combinations just make me happy what can I say?
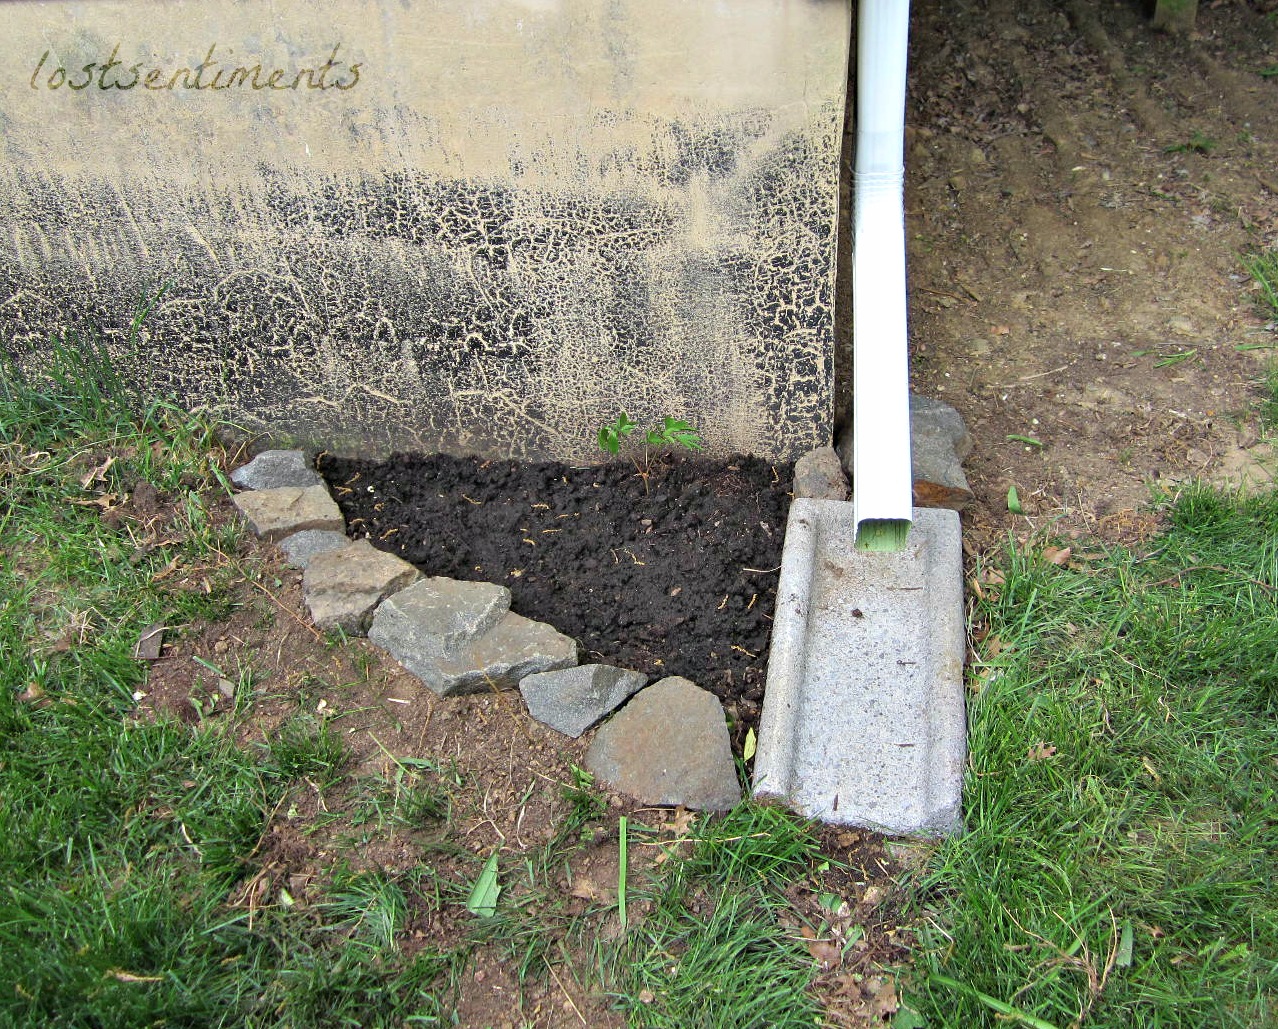
Back at the house - it was transplanting time!
|

Tuesday, April 30, 2013
Peonies & Black Dahlia's? I hope so! :)




Monday, April 29, 2013
Landscaping Progress Over the Years
This past weekend I did some yard work and wanted to share the outcome of it with you. I felt I would be only sharing the tip of the iceberg with you though so I did some digging into my photo files to give you a more complete picture. Here is the landscape history of our house.
I'll share the landscaping project I worked on this weekend with you all tomorrow so stay tuned! ;)
In 2009 when we signed on our house, we inherited a lot of other peoples left over issues, er maybe not issues, but because they were too lazy to keep up with the house and yard properly we had a lot of work to do... the house was a diamond in the rough, full of potential, but left much to be desired. The house was stinky and there were nicotine stains on the walls (they smoked *inside* :( ), heavily soiled carpets (it would seem they never ever took off their shoes and didn't own a vacuum, a mess of a yard (rotting firewood, wooden playhouse falling apart), jungle gym for kids (this again, rotting). Twigs all over the yard under the grass, everywhere you walked there was a snapping sound. Apparently they hadn't thought to pick up sticks before they mowed huh? :s Meh...yard work was not the prior owners priority... geesh.... At any rate, we have come a long way.
Here is the original front of the house... oh how I do NOT miss it... ☺
 |
| The front of the house overgrown shrubs and red landscaping bricks lined the house. |
 |
| A little while later, before moving in...you will note the open windows - ventilating the house - the ones that could be opened... we also spent this time cleaning the heavily trafficked carpets... oye vey.. |
Here are many of the eye sores of the yard...
 |
| Oh the jungle gym... the oh so UNsafe playground... |
 |
| Back of the house - nice huge deck, but the lattice?!?! It had to go! |
 |
| Rotting play house :( once I got it to the front curb it folded on its side. This baby was heavy! All real wood! |
 |
| Branches and other debris collected where a large shed used to be (prior owners). |
 |
| Yes, that's a refrigerator - it was full of mold when we moved in... so we decided better safe than sorry. |
 |
| Our curb as it appeared from across the street... ~~~~~~~~~~~~~~~~~~~~~~~~~~~~~~~~~~~~~~~~~~~~~~~~~~~~~~~~~~~~~~~~~~~~~~~~ |
In 2010 we removed all these icky shrubs from the front of the house...
and put up some solar lights and planted a few *tiny* shrubs. ☺
 |
| We toned down the red brick fascia a bit by replacing the brick landscape siding with neutral cement blocks. You'll notice we also added white rock on top of the soil (after putting down a plastic tarp). A nice upgrade ;) it looks so much cleaner! |
Where the shrubs were we planted grass seed and lined the cement walkway with cement blocks making them flush with the side walk.
 |
| Here is a close up of the left side of the house near the walkway at night. |
 |
| Here is a shot of the cement blocks lining the cement a few years later. The grass grew in nicely! ~~~~~~~~~~~~~~~~~~~~~~~~~~~~~~~~~~~~~~~~~~~~~~~~~~~~~~~~~~~~~~~~~~~~~~~~ |
 |
| Hasta's were brought from Iowa and planted near the base of most of the trees. Thank you Mom! :D This is the view as seen from the deck. |
 |
| More Hasta's! You will notice the barren spots, this is where the toy shed was. Grass has since grown in nicely! |
 |
| The two Azalea Bushes & Peony Bush were transplanted from the front yard and were placed to the left between two trees. There was another set of matching bushes we transplanted towards the back of the yard as well. |
We planted grass seed in all the spots that were in need of TLC, and we recruited a lawn care service since then to properly take care of the lawn (aerating, fertilizer and seeding), it's been green and flourishing ever since!
~~~~~~~~~~~~~~~~~~~~~~~~~~~~~~~~~~~~~~~~~~~~~~~~~~~~~~~~~~~~~~~~~~~~
A few years later the family visited again and we took on the edging of the driveway -
what. a. chore!
The soil in Virginia is full of rocks! This was a huge undertaking. In some cases we had to break larger rocks so we could set the blocks flush with the ground.
what. a. chore!
The soil in Virginia is full of rocks! This was a huge undertaking. In some cases we had to break larger rocks so we could set the blocks flush with the ground.
The results were worth it! Here again I must credit my family, I'm so thankful for them.
 |
| As seen from the mailbox. |
 |
| As seen from across the street. |
So to recap on the front yard progress - as far as the landscaping goes (we later found out we needed a new roof, siding, windows, etc. :s ) here is how it compares.
 |
| Before and after landscaping. |
As mentioned, we've resided the house since then and there is a little bit more landscaping/transplanting that we did this past weekend but I'll share with you tomorrow.
For now I hope you enjoyed the journey we've been on! :) God is faithful no? ;)
For now I hope you enjoyed the journey we've been on! :) God is faithful no? ;)
Sunday, April 28, 2013
Garlic Chicken Breast Crockpot Recipe with option of a Parmesan Cheese Crust - Low Carb and Paleo Friendly
Lots of chicken in the fridge to use up and a while my pinterest board has a lot of ideas for chicken breast recipes I'm lacking vegetable variety. I need to go to the grocery store but that won't happen until Monday. So what to do, what to do... work with what I have on hand! :) I present Garlic Chicken Breasts! They are mighty tasty and tender! Don't say I didn't warn you! :)
Chicken meet chicken bouillon, garlic and pepper. Later... you'll be introduced to Parmesan cheese.

 |
| The ingredient spread. |
 |
| 1/2 Tablespoon Garlic Powder |
 |
| 1/8 Tspn Pepper |
 |
| Mince those Cloves up! |
Put in the Crock pot:
5 - 6 lbs of chicken breasts
1/8 tspn Pepper
1/2 Tblspn Garlic Powder
2 Garlic cloves minced
1 1/2 cups chicken broth or 1 1/2 tsp chicken bouillon dissolved in 1 1/2 cups water
1) Place the chicken breasts in the crock pot.
2) Add the broth, garlic powder & pepper
3) Mince 2 garlic cloves - add to the top of the mix
4) Set on Low for 4 1/2 hours or on Keep Warm for 6 - 8hrs.
Now at this point the chicken is perfectly edible to get your eating on if you like. However... if you want to add some crunch to the outside of them read on!
~~~~~~~~~~~~~~~~~~~~~~~~~~~~~~~~~~~~~~~~~~~~~~~~~~~~~~~~~~~~~~~~~~~~~~~~

~~~~~~~~~~~~~~~~~~~~~~~~~~~~~~~~~~~~~~~~~~~~~~~~~~~~~~~~~~~~~~~~~~~~~~~~
Making your Chicken Breast into a Large Chicken Nugget. Sort of ;)

Pull out a plate, a large bowl and a frying pan along with:
- Olive Oil
- Parmesan Cheese
- Dried Cilantro
- Eggs
Add Olive Oil to coat your pan.
On a dinner plate add Parmesan Cheese and Cilantro to suit your taste buds - mkay?
In a large bowl break 4 eggs and whisk.
You may need to add more of the dry mix and eggs need to add more eggs as you go so keep them handy!
You may need to add more of the dry mix and eggs need to add more eggs as you go so keep them handy!

Take a chicken breast and dunk it in your eggs, coating both sides, then place it in Parmesan Cilantro mix, turn over and coat the other side. Place chicken in frying pan and cook over medium heat until they are golden brown, flip over and cook the other side. Although the pictures show I used a fork, I later discovered tongs are a much better tool for this job!


Once both sides are golden brown load up your plate and get your eatin on ! :)
Subscribe to:
Posts (Atom)
